The Patton SN4141 FXS device allows users to connect analog telephones to a VoIP network, facilitating communication through extensions created on the Vodia PBX. After logging in to the device and setting up extensions, users can utilize the Patton Wizard to configure FXS ports, entering necessary details such as the number of ports and the PBX IP address. Once the configuration is completed, it's uploaded to the device for it to register with the PBX, enabling seamless connectivity for analog devices in a VoIP environment.
Under the product search function, type in your model. For this tutorial, we are using the following: SN4141
Choose the following wizard, Trinity 1-8 port FXS SmartNode with SIP Registration, and run the Wizard.
Wizard setup
Enter the password for your device.
Country selection
Number of FXS ports & SIP Server IP Address
We are using two FXS ports. If you have more than one FXS port, you can choose in this section.
Enter your PBX IP address
SIP Server SIP Settings
In this section, you will enter the following for (FXS 0/0):
Name of extension (FXS 0/0) is the extension account created on the PBX
Extension or DID (FXS 0/0) is the extension account created on the PBX
SIP Server username (FXS 0/0) is the extension account created on the PBX
SIP Server Password (FXS 0/0) is the extension SIP password
Retype SIP Server password
In this section, you will enter the following for (FXS 0/1)
Name of extension (FXS 0/1) is the extension account created on the PBX
Extension or DID (FXS 0/1) is the extension account created on the PBX
SIP Server username (FXS 0/1) is the extension account created on the PBX
SIP Server Password (FXS 0/1) is the extension SIP password
Retype SIP Server password
Uploading the Patton configuration file
Login in to your Patton device with user admin and no password. If the password was provided in the .cfg file, then you will enter that password after you reboot the unit.
Navigate to the right-hand panel and choose System ---> Configuration Files
Upload your configuration file
Browse and upload your configuration file. Save as startup-config and press OK.
Reboot the device
Status Registrations
Now that your Patton is running the new start config file, we will need to verify if the FXS ports are registered to the PBX.
Navigate to All account --- Extensions and check the status for registration. If the ports are registered, congrats! If not visit us at https://doc.vodia.com/admin_logging ;)
Helping a business choose the right phone system starts with understanding its real needs... lower costs, better communication, stronger integrations, support for remote teams and more flexibility. For MSPs, asking the right questions makes it easier to recommend the right features, hardware and deployment model, while Vodia provides the technology, partner support and new Partner Portal needed to build stronger customer relationships, create recurring revenue and grow their communications business.
Moving your business phone system to the cloud can improve flexibility, scalability, mobility, and access to modern communication tools, but a successful migration still requires careful planning. From bandwidth and hardware compatibility, disaster recovery, staff readiness, and MSP support, there are several areas businesses need to assess before deployment. Understanding these common risks early can help reduce disruption, avoid unexpected costs, and create a more reliable cloud communication environment.
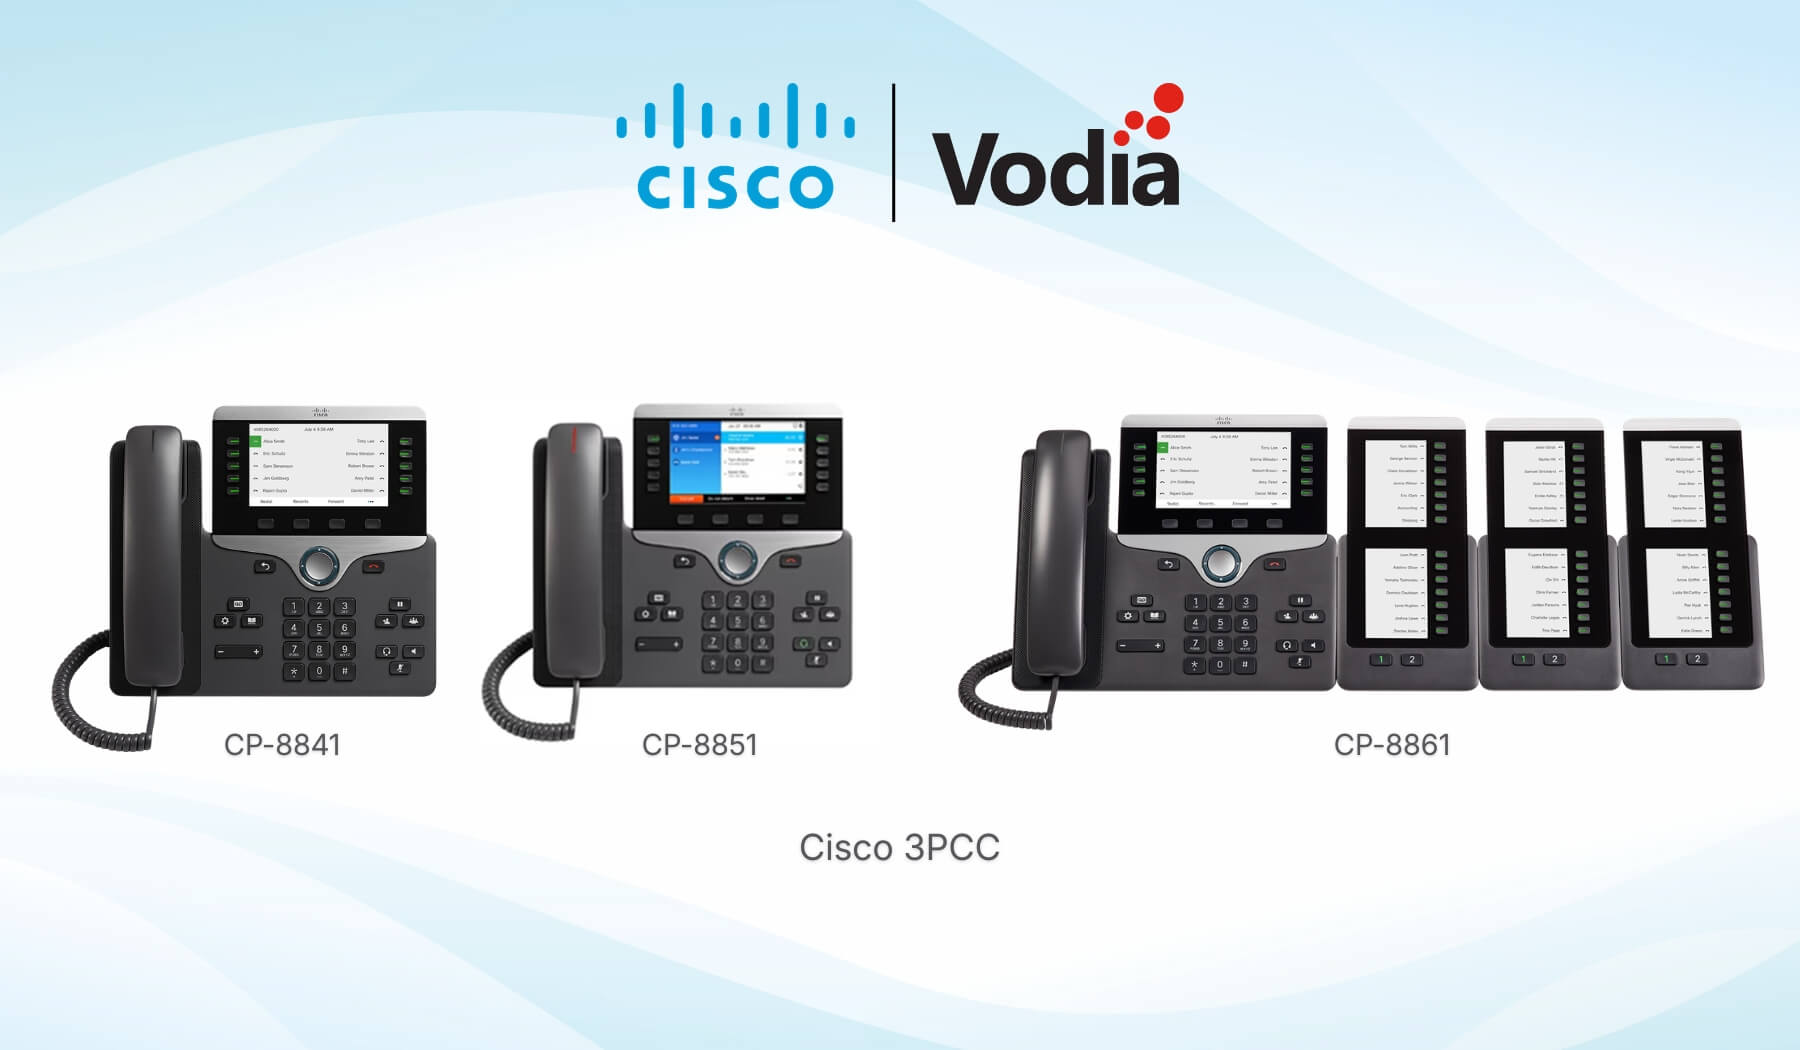
Vodia now supports provisioning for Cisco 3PCC phones, giving businesses and service providers a clearer way to connect compatible Cisco multiplatform IP phones to the Vodia PBX. Admins can add supported Cisco devices through Vodia Device Management, pair them with extensions, and configure provisioning settings through the phone’s web interface. This expands Vodia’s supported device ecosystem while helping customers continue using trusted Cisco IP phones within their existing business phone system.
.svg)