Enter Provisioning URL via the Yealink GUI interface
Published on:
January 17, 2019
Provisioning a Yealink phone with the Vodia PBX involves resetting the device, logging in through the phone’s web interface and linking it to the PBX using its MAC address. Once reset, retrieve the phone’s IP and enter it in a browser to access the login interface. Register the MAC address with the desired extension on the Vodia PBX, then enter the PBX server URL in the phone's “Auto Provisioning” settings. Confirming and initiating this auto-provision process connects the phone to the PBX, allowing it to register and be ready for use within minutes.
For a complete step-by-step guide to provision Yealink desktop phones for use with the Vodia PBX, see the general configuration guides for the Vodia PBX at https://doc.vodia.com/pnp_yealink
Reset your Yealink phones
We will be using a YealinkT29G Desktop phone for this demonstration.
Reset your Yealink phone to factory default by pressing "OK" on your phone until you see "“Reset to factory settings?” appear. "Confirm" to reset.
After the phone has rebooted to factory default it will be ready for provisioning.
To log in to the Yealink phone interface, press the Menu button and navigate to "Status" and press OK on the phone. The unit will reveal the following information:
IPV4
MAC
WIFI MAC
Firmware
More...
Type in the IPV4 address on your browser; you will then be presented with the phone log in screen.
To log in to the unit, type in the following.
Username: admin
Password: admin
Once you've logged in to the unit, you will be presented with the page below. We will need to copy/paste the MAC address of the phone to the Vodia PBX extension.
Setting up provisioning
Log in to your Vodia PBX and navigate to your domain and click on Extensions. Choose an extension to which you would like to provision the Yealink phone.
Next, navigate to the Provisioning tab and click on the plus icon.
Enter the MAC address of the phone and choose the phone manufacturer and phone model. Once done, click on the plus icon to save.
Open Mac based provisioning
This security mechanism enables the phone to provision to the Vodia PBX within 1 hour or less - this prevents hackers from trying to provision a unit on the PBX. Also, when the phone is in provisioning mode, the open MAC provision counts down to a minute or less. Once the open MAC provisioning is closed, it's impossible to provision another phone unless the setting is reactivated.
Yealink provisioning
Now that we have programmed the Vodia PBX, we will now log in to the YealinkT46G phone. Navigate to Settings tab -----> Auto Provisioning
Under Server URL, enter your Vodia PBX IP address or your FQDN.
Press Confirm on the bottom of the page and click Auto Provision now to complete the provisioning process.
The phone should reboot and contact the Vodia PBX. After 2 minutes, the phone will successfully register to the PBX.
Check our documentation page to program the Yealink buttons
Helping a business choose the right phone system starts with understanding its real needs... lower costs, better communication, stronger integrations, support for remote teams and more flexibility. For MSPs, asking the right questions makes it easier to recommend the right features, hardware and deployment model, while Vodia provides the technology, partner support and new Partner Portal needed to build stronger customer relationships, create recurring revenue and grow their communications business.
Moving your business phone system to the cloud can improve flexibility, scalability, mobility, and access to modern communication tools, but a successful migration still requires careful planning. From bandwidth and hardware compatibility, disaster recovery, staff readiness, and MSP support, there are several areas businesses need to assess before deployment. Understanding these common risks early can help reduce disruption, avoid unexpected costs, and create a more reliable cloud communication environment.
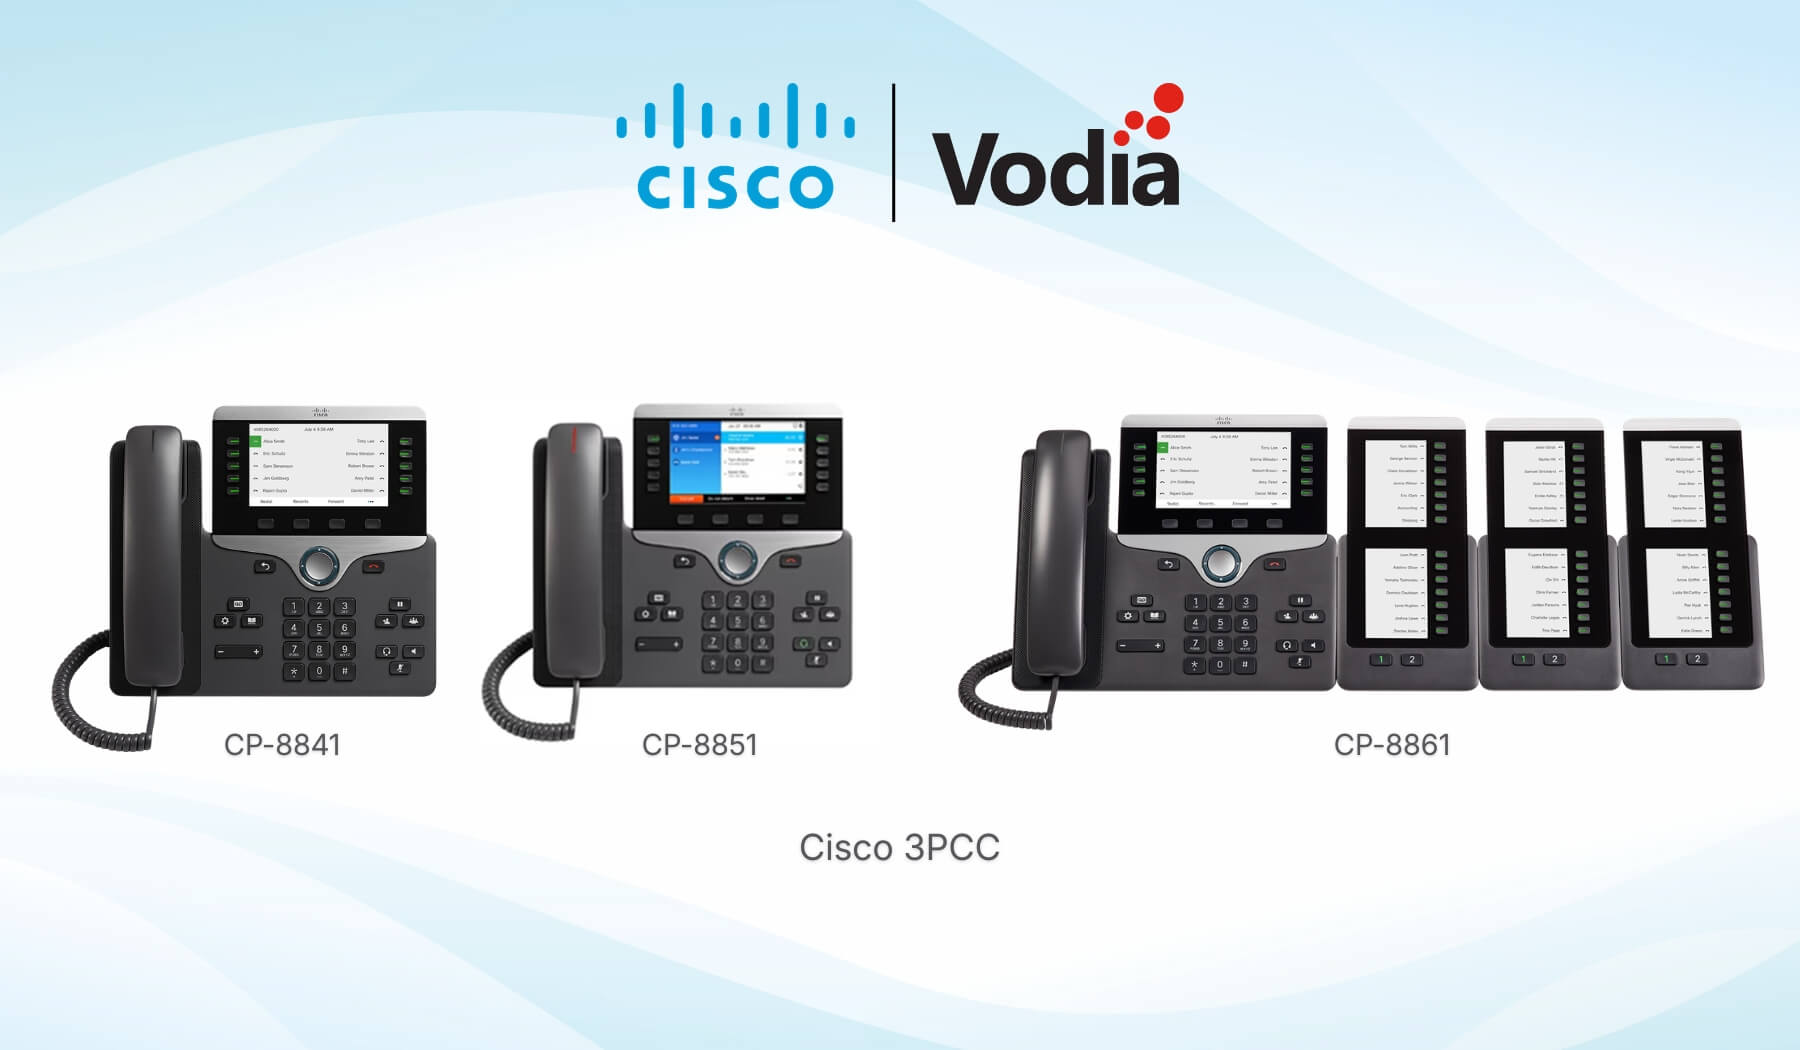
Vodia now supports provisioning for Cisco 3PCC phones, giving businesses and service providers a clearer way to connect compatible Cisco multiplatform IP phones to the Vodia PBX. Admins can add supported Cisco devices through Vodia Device Management, pair them with extensions, and configure provisioning settings through the phone’s web interface. This expands Vodia’s supported device ecosystem while helping customers continue using trusted Cisco IP phones within their existing business phone system.
.svg)