A Step-by-Step Guide to Configuring Poly Edge B20 Desktop Phones with the Vodia Phone System
Published on:
March 10, 2023
This guide outlines configuring Poly Edge B20 phones with the Vodia Phone System. Ensure your Vodia PBX is version 69.0.3 or higher, reset the Polycom phone to factory defaults, bind its MAC address to the PBX and set up auto provisioning. The process also involves obtaining the phone's IP address and logging in to the web interface. After rebooting, the phone seamlessly integrates with the Vodia PBX for efficient communication.
Here's a brief guide on how ITSPs and MSPs can use the Poly B20 series phone with the Vodia phone system.
Prerequisites
The Vodia PBX must be running version 69.0.3 or higher.
The Polycom phone must be in its factory default state.
Your PBX server must be resolvable on the network.
Step one
Make sure your Polycom phone is powered on and connected to the same network.
Obtain the IP address of your Polycom phone by pressing the "Home" button and selecting "Settings" > "Network"
Log in to the web interface by entering the IP of the Poly B20.
Default user is “admin” and “password”.
The phone will ask you to enter the old password and then enter a new one.
Locate the MAC address of the device under system status and copy your MAC address for later.
Step Two
Log in to the Vodia PBX web interface.
Note: Version 69.0.3 has a new location - you will need to enter the MAC address of the unit.
Navigate to your Tenant ---> Advance ---> VoIP Phones.
Click add and add your model as shown below.
Enter the phone’s MAC address under "Bind to MAC address".
Create.
Step Three
Log in to the web interface by entering the IP of the Poly B20.
Navigate to System Management --> Auto Auto Provisioning.
Scroll down to ITSP Provisioning.
Set the following rules:
Log into the web interface of the Polycom B20 phone by entering its IP address in a web browser. The default username is "admin"; the default password is also "admin".
Navigate to "Settings" > "Provisioning" > "Provisioning Server".
Set "Method" to "System Start" and uncheck the default box.
Set "Provisioning Option" to "ConfigureURL" and uncheck the default box.
Set "UCSServer" to "Disabled" and uncheck the default box; also, remove all the Option 66 modes.
Set "ConfigURL" to "http://PBXDNS/prov/PolyEdgeB20.xml". Note: you should replace "PBXDNS" with your Vodia PBX's A record tenant name to match your tenant, since we already mapped the MAC address.
Click "Save" to apply the changes.
Reboot the Polycom B20 phone from the GUI by navigating to "Status" > "Reboot".
After the phone restarts, it will retrieve its configuration from the Vodia Phone system and register with the PBX.
Step 4
To configure the buttons on the unit, navigate to your extension and then to buttons: enter the buttons you would like to monitor, or choose a private line:
By following the above steps, ITSPs and MSPs can easily plug and play Polycom B20 series phones with the Vodia PBX. This will provide a reliable and efficient communication system for businesses of any size, from SMBs to enterprises. The Polycom B20 phone is an excellent choice for its exceptional audio quality and reliability, while the Vodia PBX provides a flexible and robust platform for managing VoIP phone systems.
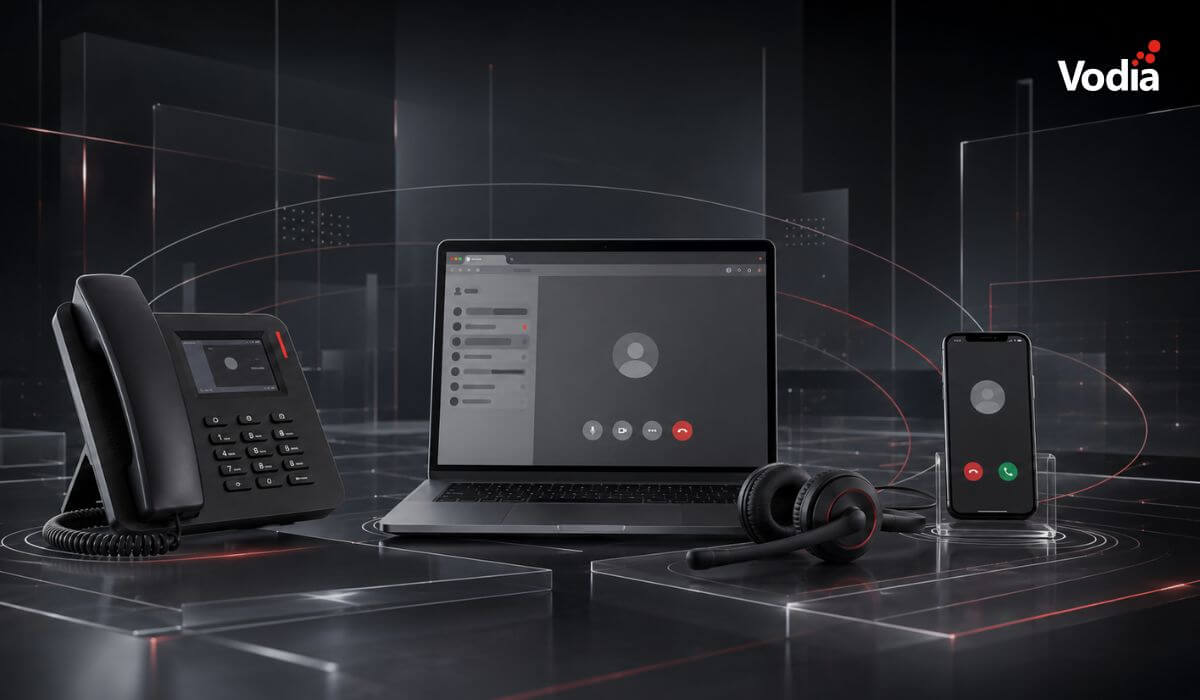
Business communication is no longer tied to a single device. Desk phones remain valuable for employees who manage high call volumes, mobile apps give remote and travelling teams access to business calling wherever they work, and browser calling fits naturally into computer-based workflows. This article looks at the strengths and limitations of each endpoint, explains which roles they suit best and shows why most organizations benefit from building the right mix rather than selecting one option for everyone.
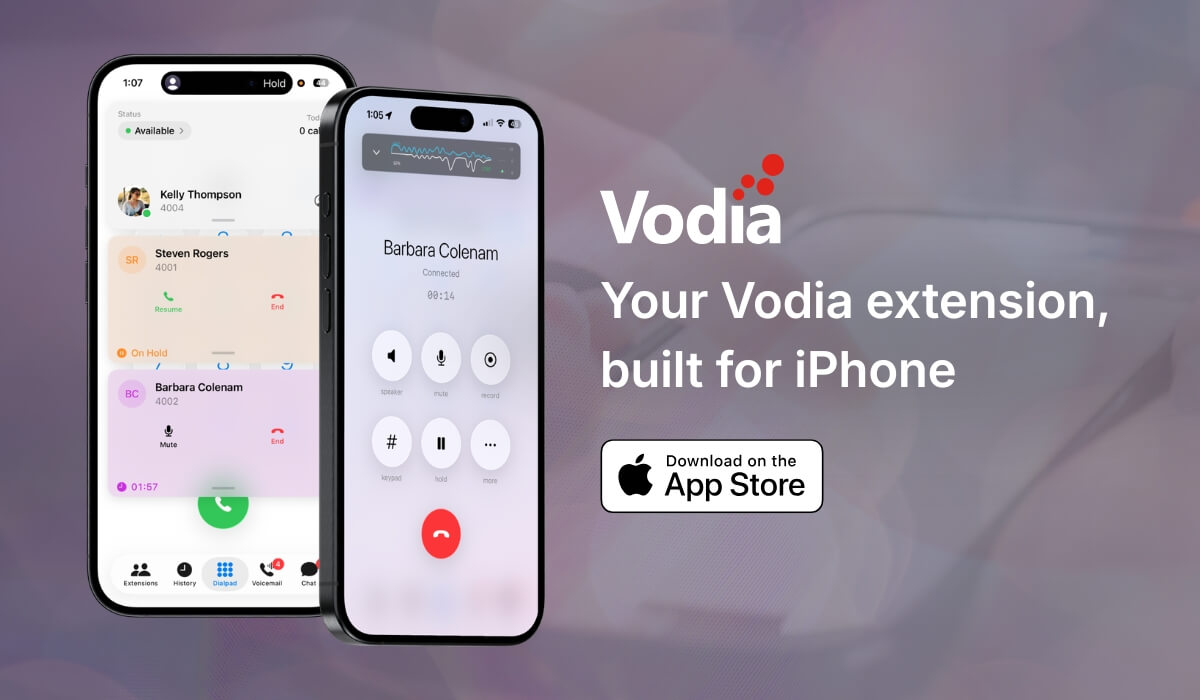
The new Vodia iOS app gives users a native way to use their Vodia PBX extension from iPhone and iPad. Built around a cleaner, card-based interface, the app makes it easier to manage calls, voicemail, chat, extensions, call history, and active call controls in one place. Users can place and receive calls, park or transfer calls, check voicemail, and view extension status from the app. It also adds readiness checks, visual audio feedback, call quality visibility, and adaptive recovery when network conditions change, helping teams stay connected with a reliable mobile PBX experience.
Cloud communications can create a valuable recurring revenue opportunity for MSPs, but only when they remain in control of the customer relationship. By managing branding, pricing, service delivery, and support, MSPs can build stronger customer loyalty, protect long-term account value, and expand their offering as customer needs evolve. A white-label approach also gives them the flexibility to package voice, AI, integrations, and managed services under their own brand.
.svg)