This article explains how to provision Yealink phones with Vodia’s zero-touch plug-and-play using LAN provisioning. Vodia supports a range of Yealink models, including the T21P, T46G, W60P, and more. Once the phone is reset to factory settings, the Vodia PBX automatically detects the device on the network and displays key information such as MAC address and model. After selecting an extension, the phone registers with the system, making it ready for use. This simple process ensures quick integration of Yealink phones into the Vodia PBX, enabling a hassle-free setup with minimal configuration.
For a complete step by step guide to provision Yealink desktop phones for use with the Vodia PBX, see the general configuration guides at https://doc.vodia.com/pnp_yealink
Vodia PBX supports the following provisioning methods.
LAN Provisioning
Manual Provisioning
RPS Provisioning
Option 66
We will discuss only LAN provisioning in this article.
LAN Provisioning
LAN Provisioning is the simplest way to get your Yealink phone configured with the Vodia PBX.
Reset your Yealink phone to factory default by pressing the "OK" on your phone until you see "“Reset to factory settings?” appear. "Confirm" to reset.
After the phone has rebooted to factory default it will be ready for provisioning.
Switch to Admin mode on your Vodia PBX ---> navigate to Phones ----> LAN Devices
The Vodia PBX has already scanned the network for your Yealink devices after factory default, and it will show the available units on the LAN device page. The following information will be displayed:
Mac address
Device IP
Vendor type
Model
Firmware version
Hostname
Vendor Class ID
Click on the Setup button to configure the unit: a dialog box will pop up and display the available extensions to which you can pair the phone. Once you have chosen an extension on the system, the Yealink phone will reboot and register to the extension. To configure the Yealink line keys and expansion boards, follow these instructions https://doc.vodia.com/buttons
Helping a business choose the right phone system starts with understanding its real needs... lower costs, better communication, stronger integrations, support for remote teams and more flexibility. For MSPs, asking the right questions makes it easier to recommend the right features, hardware and deployment model, while Vodia provides the technology, partner support and new Partner Portal needed to build stronger customer relationships, create recurring revenue and grow their communications business.
Moving your business phone system to the cloud can improve flexibility, scalability, mobility, and access to modern communication tools, but a successful migration still requires careful planning. From bandwidth and hardware compatibility, disaster recovery, staff readiness, and MSP support, there are several areas businesses need to assess before deployment. Understanding these common risks early can help reduce disruption, avoid unexpected costs, and create a more reliable cloud communication environment.
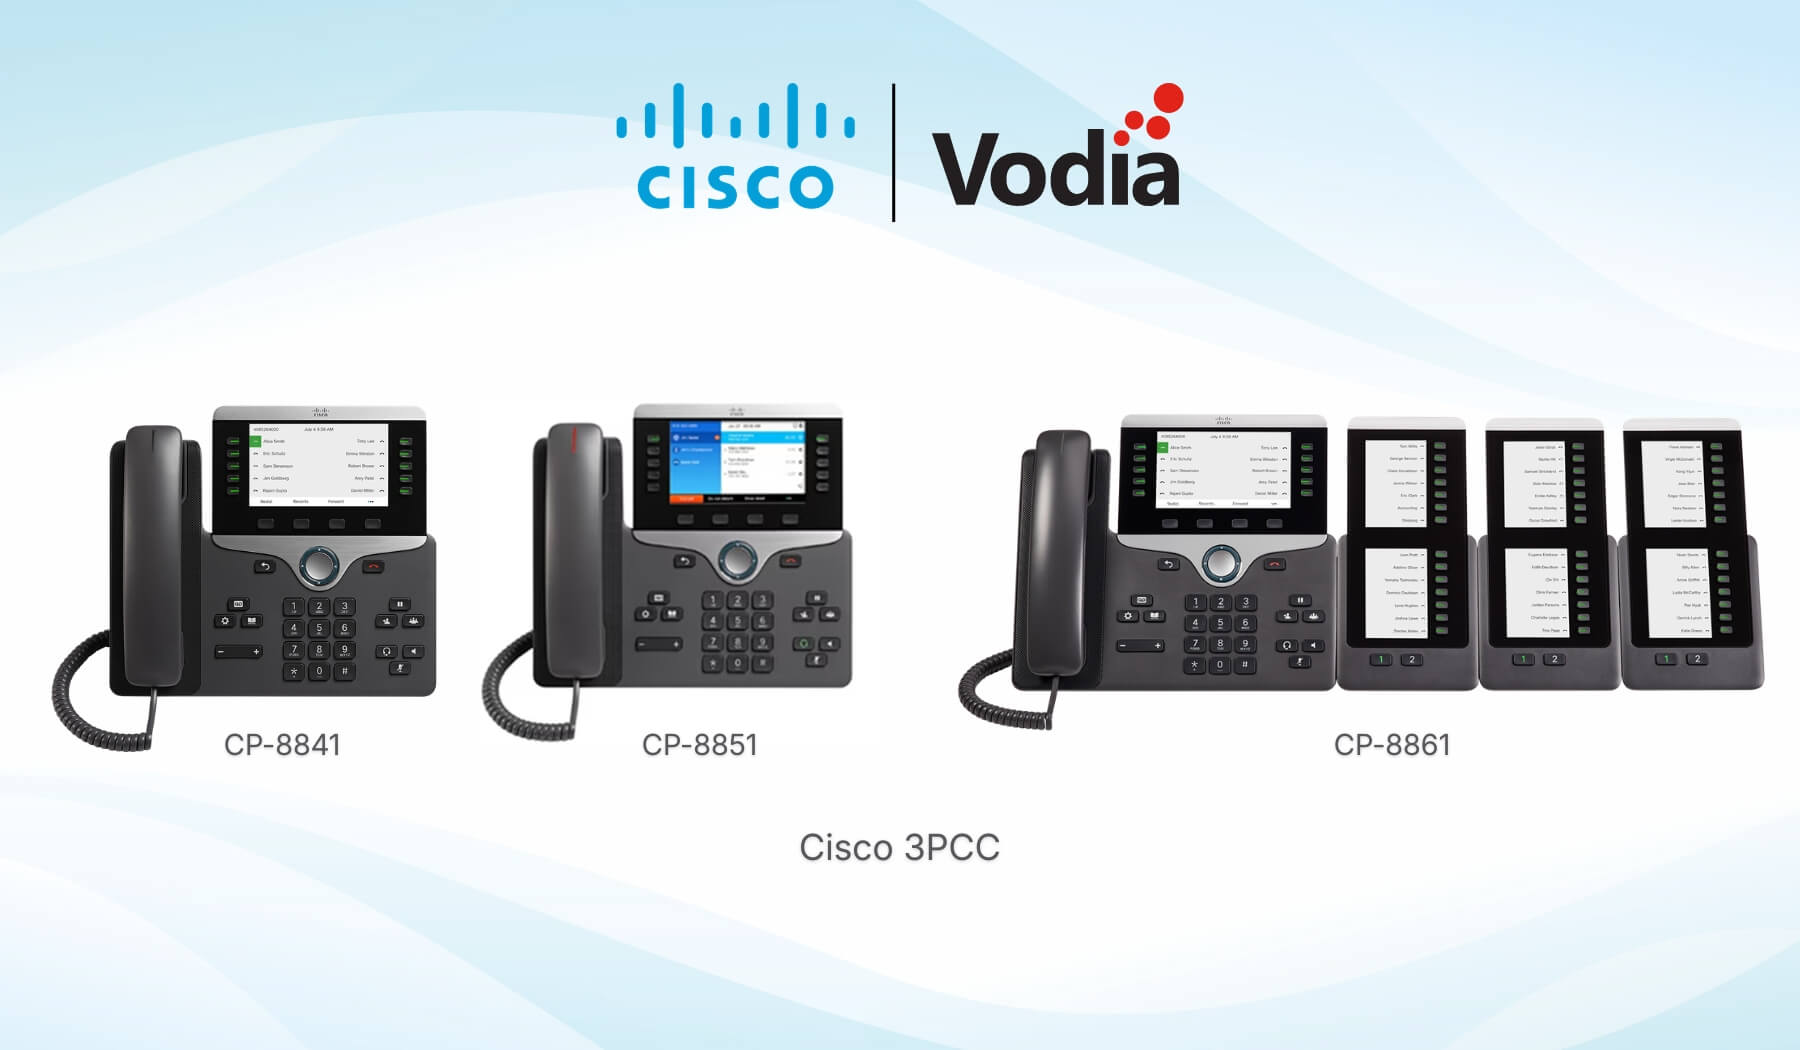
Vodia now supports provisioning for Cisco 3PCC phones, giving businesses and service providers a clearer way to connect compatible Cisco multiplatform IP phones to the Vodia PBX. Admins can add supported Cisco devices through Vodia Device Management, pair them with extensions, and configure provisioning settings through the phone’s web interface. This expands Vodia’s supported device ecosystem while helping customers continue using trusted Cisco IP phones within their existing business phone system.
.svg)