This article explains how to provision Yealink phones with Vodia’s zero-touch plug-and-play using LAN provisioning. Vodia supports a range of Yealink models, including the T21P, T46G, W60P, and more. Once the phone is reset to factory settings, the Vodia PBX automatically detects the device on the network and displays key information such as MAC address and model. After selecting an extension, the phone registers with the system, making it ready for use. This simple process ensures quick integration of Yealink phones into the Vodia PBX, enabling a hassle-free setup with minimal configuration.
For a complete step by step guide to provision Yealink desktop phones for use with the Vodia PBX, see the general configuration guides at https://doc.vodia.com/pnp_yealink
Vodia PBX supports the following provisioning methods.
LAN Provisioning
Manual Provisioning
RPS Provisioning
Option 66
We will discuss only LAN provisioning in this article.
LAN Provisioning
LAN Provisioning is the simplest way to get your Yealink phone configured with the Vodia PBX.
Reset your Yealink phone to factory default by pressing the "OK" on your phone until you see "“Reset to factory settings?” appear. "Confirm" to reset.
After the phone has rebooted to factory default it will be ready for provisioning.
Switch to Admin mode on your Vodia PBX ---> navigate to Phones ----> LAN Devices
The Vodia PBX has already scanned the network for your Yealink devices after factory default, and it will show the available units on the LAN device page. The following information will be displayed:
Mac address
Device IP
Vendor type
Model
Firmware version
Hostname
Vendor Class ID
Click on the Setup button to configure the unit: a dialog box will pop up and display the available extensions to which you can pair the phone. Once you have chosen an extension on the system, the Yealink phone will reboot and register to the extension. To configure the Yealink line keys and expansion boards, follow these instructions https://doc.vodia.com/buttons
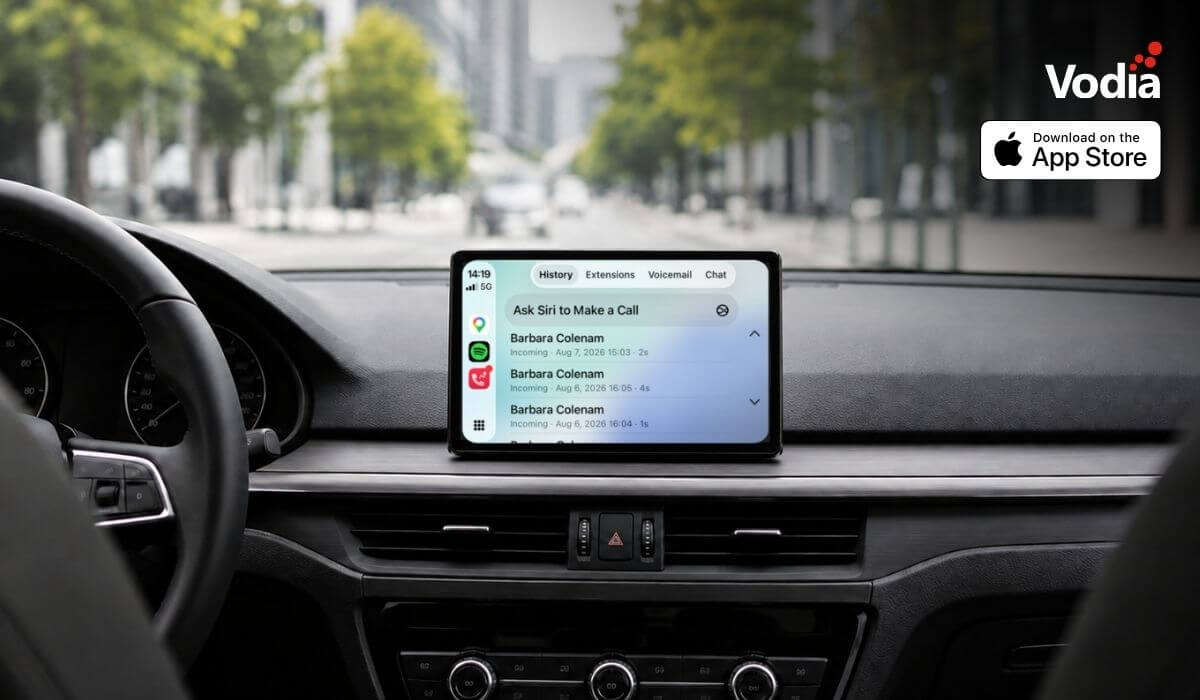
Apple CarPlay support is now available with the Vodia iOS app, bringing essential PBX communication features to the vehicle display through Apple’s native in-car interface. Users can access recent calls, browse the extension directory, view colleague presence, listen to voicemail, use Siri for calls and PBX messages, and receive communication alerts, while built-in readiness checks and automatic recovery help maintain reliable access when network conditions change. The experience supports compatible wired and wireless CarPlay systems.
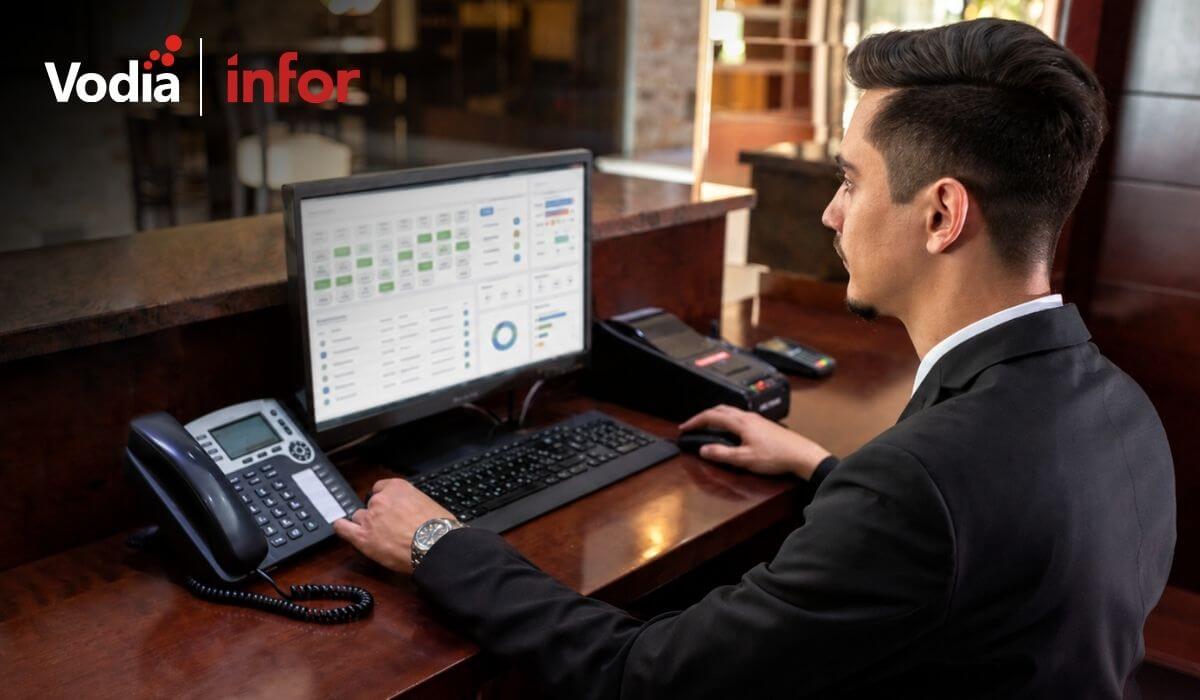
The certified integration between the Vodia PBX and the Infor Hospitality Platform brings hotel operations and guest communications together. Through support for UHLL and FIAS, the two systems can exchange essential guest and room information, helping hotels automate extension activation at check-in, room resets at check-out, guest moves, calling permissions, call billing, Do Not Disturb settings, housekeeping updates, and wake-up calls. This reduces manual work for hotel staff and keeps telephone services synchronized throughout each guest’s stay.
Digital autonomy gives MSPs control over how customer communications, data and infrastructure are deployed, managed, processed and stored. With Vodia, MSPs can build a flexible, branded communications service across cloud and on-premise environments while retaining control of pricing, service delivery, support and the customer relationship. This independence helps protect long-term account value, reduce reliance on third-party vendors and create more opportunities to expand services over time.
.svg)