To set up the Vodia PBX on Google Cloud, start by creating a VM instance in Google Cloud's Compute Engine - choose a region, zone and a compatible operating system, like Debian. Once the instance is running, configure firewall rules to allow essential ports, such as 80, 443 and SIP-specific ports (5060/5061) to enable communication. Use SSH to install the Vodia PBX by downloading and executing the installation script. After installation, configure the Vodia PBX login, then adjust IP routing settings to recognize the Google Cloud NAT by specifying internal and external IPs. This setup helps you effectively run the Vodia PBX in a cloud environment with secure, remote access and full functionality.
In this blog, we will cover the basic steps for setting up the Vodia PBX with Google Cloud. If you don’t have a google account, you can sign up at https://cloud.google.com/ and get $300 to spend on Google Cloud Platform over the next 12 months!
Once you have access to your Google Cloud, navigate to (Compute Engine) to create a VM.
Click on create
Setting up your VM
Name Your instance (lower case) no spaces
Choose your region and zone
Machine configuration (choose General-Purpose)
Building your instance
Choose your operating system (for this tutorial we are using Debian). You can use Windows or any other Linux flavor.
Service Account (Choose Compute Engine default service account)
Access Scope (Choose Allow default access)
Firewall Setting (Choose Allow HTTP traffic and Allow HTTPS Traffic)
When done, click create.
Running instance
Now that the VM is running, Google has provided us with internal IP and external IP addresses. These IP addresses will be assigned to the Vodia PBX to determine the audio packets.
Edit the firewall
Next, we are going to set up the firewall on Google Cloud.
Click on your instance as shown below.
Next, scroll down to (Network details) and click on (View details)
In the right-hand panel, choose (Firewall rule).
Create Firewall Rules
Click on (default-allow-internal)
Change the IP source address from to 10.128.0.0/9 to 0.0.0.0/0 and save.
This will take care of the following ports:
80 (TCP)
443 (TCP
5060 (UDP)
5061 (TCP)
RTP Ports 49152- 64512
LDAP Ports 2345-2346
Installing the Vodia PBX Phone System
To install the Vodia PBX, we need to log in with SSH. To do this, click on the SSH drop down and choose (open in the browser window).
Allow login only from listed address ( is optional)
Save the password in a safe place
Behind NAT
Since Google Cloud is behind NAT, we need to program the Vodia PBX to use the external IP address of the VM. The (IP Routing list) in the Vodia PBX is used to override the operating system IP routing table (this setting will be consulted by the system before consulting/using the operating system).
To check your internal/external IP address, click on the three-line icon and scroll down to (Compute Engine).
In this example, my internal IP is 10.150.0.2 and my external IP is 35.236.234.40
Business communication is no longer tied to a single device. Desk phones remain valuable for employees who manage high call volumes, mobile apps give remote and travelling teams access to business calling wherever they work, and browser calling fits naturally into computer-based workflows. This article looks at the strengths and limitations of each endpoint, explains which roles they suit best and shows why most organizations benefit from building the right mix rather than selecting one option for everyone.
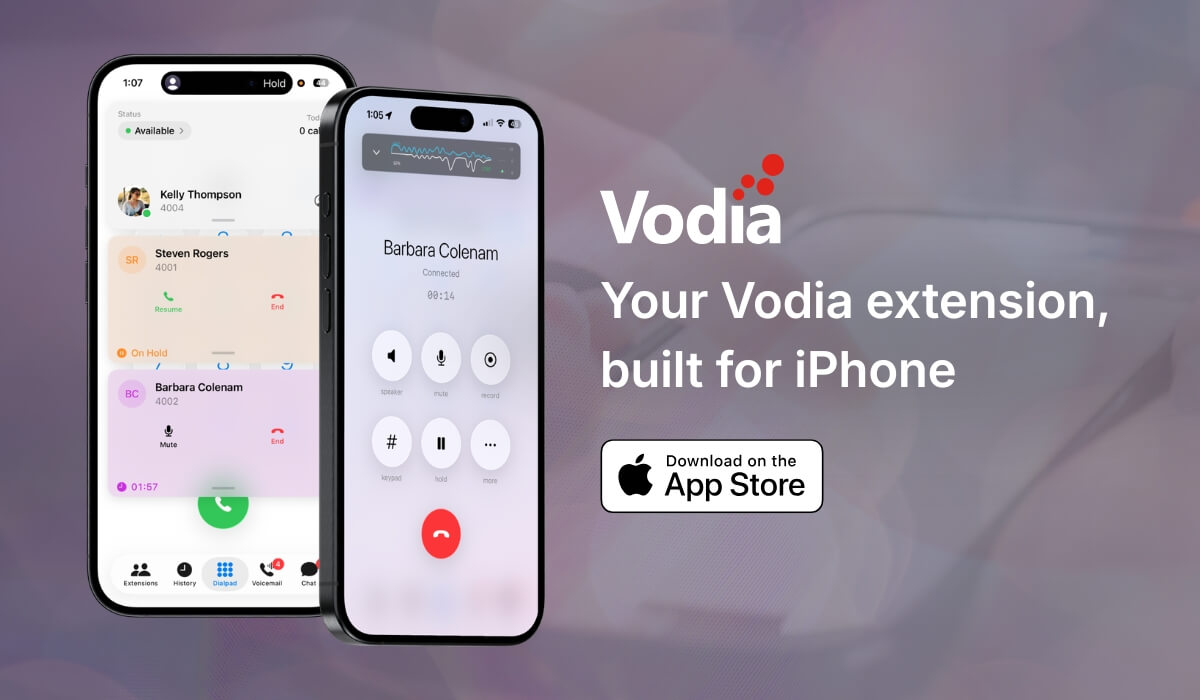
The new Vodia iOS app gives users a native way to use their Vodia PBX extension from iPhone and iPad. Built around a cleaner, card-based interface, the app makes it easier to manage calls, voicemail, chat, extensions, call history, and active call controls in one place. Users can place and receive calls, park or transfer calls, check voicemail, and view extension status from the app. It also adds readiness checks, visual audio feedback, call quality visibility, and adaptive recovery when network conditions change, helping teams stay connected with a reliable mobile PBX experience.
Cloud communications can create a valuable recurring revenue opportunity for MSPs, but only when they remain in control of the customer relationship. By managing branding, pricing, service delivery, and support, MSPs can build stronger customer loyalty, protect long-term account value, and expand their offering as customer needs evolve. A white-label approach also gives them the flexibility to package voice, AI, integrations, and managed services under their own brand.
.svg)