Configuring your firewall for remote users is essential for enabling VoIP communications through the Vodia PBX. This setup requires allowing specific TCP and UDP ports, including 5060 and 5061 for SIP signaling, UDP ports 49152 to 64512 for RTP and TCP ports 80 and 443 for web access. Additionally, setting the appropriate IP routing entries ensures both internal and remote phones can communicate effectively, utilizing a netmask that accommodates local network traffic while allowing access from external sources. This dual configuration allows for seamless call management across different network environments.
A firewall controls the incoming and outgoing network traffic based on an applied rule set and establishes a barrier between a trusted, secure LAN and/or WAN network(s) and the internet (neither secure nor trusted).
Vodia Networks recommends a LAN architecture where the voice traffic bypasses the firewall:
If a firewall feature is configured, it must allow the following ports to pass (if you want to connect remote users to the PBX then you will need to configure the Vodia SBC settings):
Allow TCP/UDP ports 5060, 5061 (for SIP)
Allow UDP ports 49152–64512(for RTP)1
Allow UDP port 123 (for NTP)
Allow TCP port 80 (for HTTP)
Allow TCP port 443 (for HTTPS)
Vodia PBX SBC
In order to make the PBX show the public IP address, you need an entry that matches "every other IP address". In other words, the netmask must be 0.0.0.0 (for example, "0.0.0.0/0.0.0.0/123.124.125.126"). The problem is it will block all calls on the private network, so there is also a necessary rule for the private network.
Example: Let's say the PBX is running on 192.168.1.2 address, the netmask is 255.255.0.0 and the internal SIP phones have 192.168.x.x addresses. So the first part of the entry will be "192.168.0.0/255.255.0.0/192.168.1.2". This part will take care of the internal phones. Now, if the phone and PBX have to talk to remote phones and servers, then you have added another part to the "IP Routing List". Consider the public IP address is 123.124.125.126 (this the IP address provided/assigned by the internet service provider). You can check the public IP using http://whatismyip.com/), then you will have "0.0.0.0/0.0.0.0/123.124.125.126" as the other part of the entry.
Putting it all together, an entry of "192.168.0.0/255.255.0.0/192.168.1.2 0.0.0.0/0.0.0.0/123.124.125.126" will make the PBX serve both internal and remote phones.
In this example, the PBX would not look at the routing presented by the operating system.
Moving your business phone system to the cloud can improve flexibility, scalability, mobility, and access to modern communication tools, but a successful migration still requires careful planning. From bandwidth and hardware compatibility, disaster recovery, staff readiness, and MSP support, there are several areas businesses need to assess before deployment. Understanding these common risks early can help reduce disruption, avoid unexpected costs, and create a more reliable cloud communication environment.
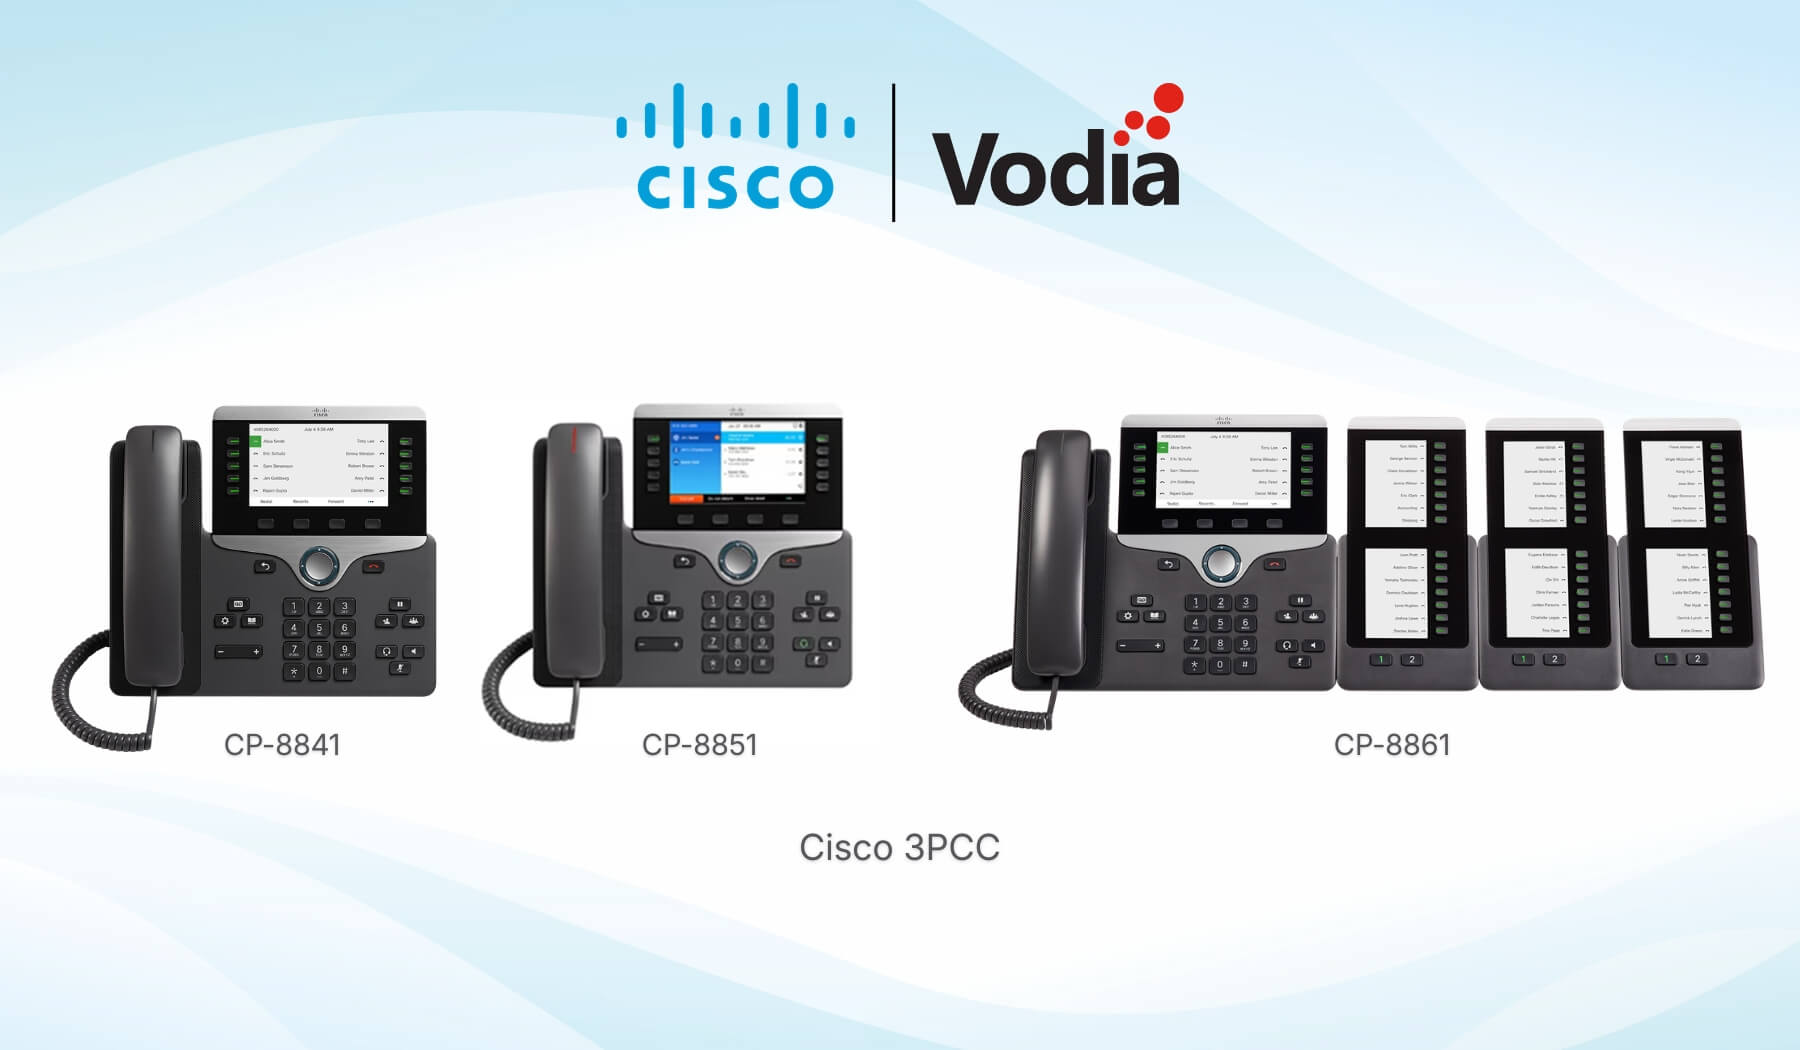
Vodia now supports provisioning for Cisco 3PCC phones, giving businesses and service providers a clearer way to connect compatible Cisco multiplatform IP phones to the Vodia PBX. Admins can add supported Cisco devices through Vodia Device Management, pair them with extensions, and configure provisioning settings through the phone’s web interface. This expands Vodia’s supported device ecosystem while helping customers continue using trusted Cisco IP phones within their existing business phone system.
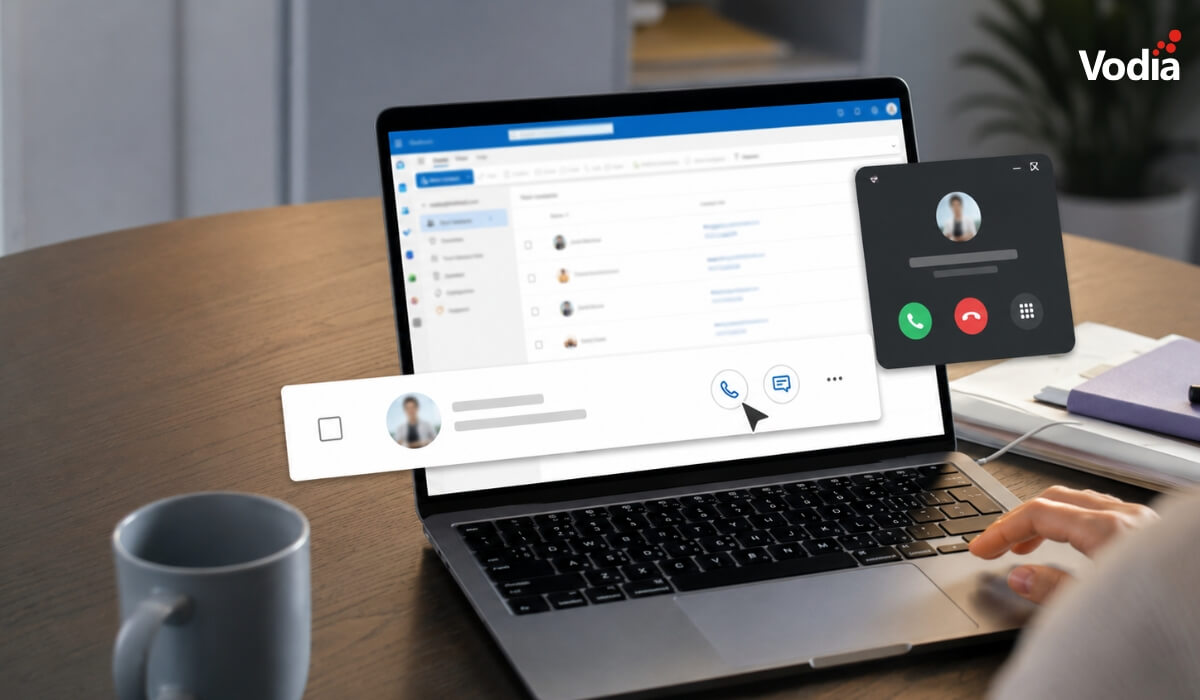
Vodia Hub for Windows brings click to call and desktop call control to Windows, making it easier for users to place, answer, manage, and automate calls from the applications they already use every day. With system wide tel: link handling, inbound call screen pops, queue details, and automation support, Vodia Hub helps connect the Vodia PBX with Outlook, CRMs, browsers, documents, and other Windows tools. Users can keep working without manually copying phone numbers, opening the user portal, or switching between applications just to handle a call.
.svg)