Creating a Transport Layer Security (TLS) Connection between Vodia and Telnyx
Published on:
June 30, 2023
This comprehensive guide outlines the setup of a secure Transport Layer Security (TLS) connection between Vodia and Telnyx, emphasizing the crucial aspects of data confidentiality and integrity. By following the steps provided, users can establish a secure SIP trunk connection. This TLS connection guarantees encrypted and secure communication, enhancing data protection and privacy for your business.
In this blog we guide you through the process of setting up a TLS connection between Vodia and Telnyx. TLS provides secure communication over the Internet, ensuring the confidentiality and integrity of data exchanged between the two systems; by following the stops below, you can establish a secure connection for your SIP trunk.
Connecting with Telnyx
Create a SIP registration connection in Telnyx.
Step 1: Connecting with Telnyx
Create a SIP registration connection in Telnyx.
Choose "Registration" as the type, then copy your SIP password.
The SIP password will be required when setting up the SIP trunk on the Vodia phone system.
Save and finish the registration.
Edit the connection and enable Secure Real-Time Transport Protocol (SRTP) under "Encrypted Media".
Save the configuration.
Note: Outbound settings already utilize SRTP settings from the inbound settings.
Step 2: Configuring the Vodia Phone System
Navigate to the SIP trunk to create your Telnyx connection in the Vodia phone system.
Click on "Add" and select "Telnyx."
Enter your Telnyx SIP account details: • Name: Provide a name for your trunk. • Password: Enter your Telnyx SIP credentials. • User: Enter your Telnyx user account. • DID: If applicable, enter your Direct Inward Dialing (DID) number. • Save the configuration.
Configure TLS under "Proxy Address" by using the following example: Proxy Address: sip:sip.telnyx.com;transport=tls
Navigate to the SIP trunk to create your Telnyx connection: Click on “Add” and select "Telnyx."
Configure the TLS under "Proxy Address" by using the following example:
Proxy Address: sip:sip.telnyx.com;transport=tls
Step 3: Caller ID and Phone Numbers
To define the Caller ID used when making calls from the Vodia system, follow these steps:
Define the FROM headers and Remote Party ID under the SIP caller-ID presentation: • Choose "custom headers" from your Telnyx SIP trunk. • You can set up the Domain ANI in the Tenant general settings under "dom_settings.htm". • Alternatively, you can set up an ANI on the extension and instruct the header to use "Extension ANI".
By following the above steps, you can establish a TLS connection between Vodia and Telnyx, ensuring secure and encrypted communication for your SIP trunk; this added layer of security helps protect your data and ensures the privacy of your calls. Implementing TLS is a crucial step in maintaining a secure communication infrastructure for your business.
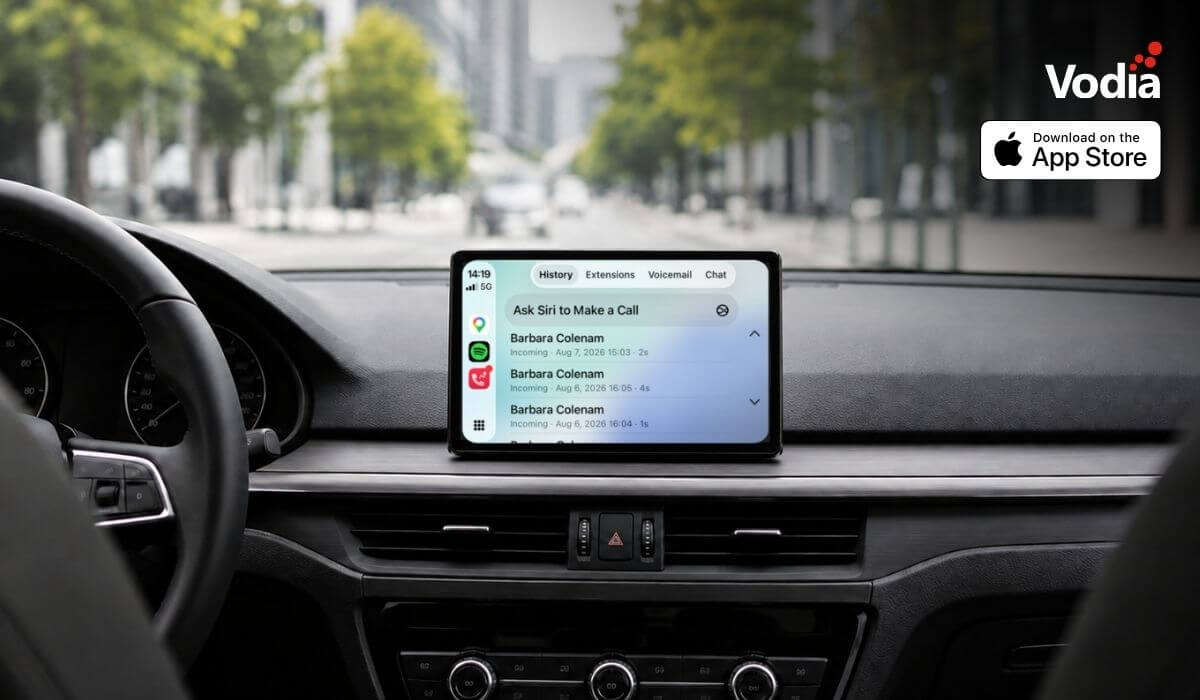
Apple CarPlay support is now available with the Vodia iOS app, bringing essential PBX communication features to the vehicle display through Apple’s native in-car interface. Users can access recent calls, browse the extension directory, view colleague presence, listen to voicemail, use Siri for calls and PBX messages, and receive communication alerts, while built-in readiness checks and automatic recovery help maintain reliable access when network conditions change. The experience supports compatible wired and wireless CarPlay systems.
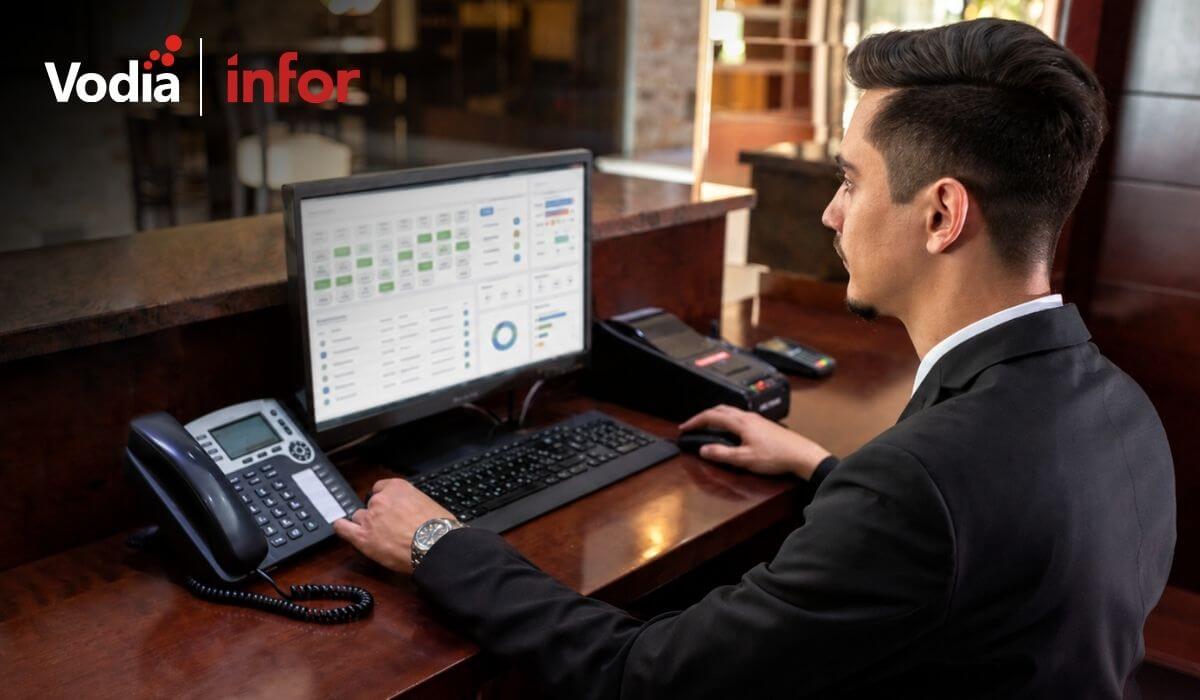
The certified integration between the Vodia PBX and the Infor Hospitality Platform brings hotel operations and guest communications together. Through support for UHLL and FIAS, the two systems can exchange essential guest and room information, helping hotels automate extension activation at check-in, room resets at check-out, guest moves, calling permissions, call billing, Do Not Disturb settings, housekeeping updates, and wake-up calls. This reduces manual work for hotel staff and keeps telephone services synchronized throughout each guest’s stay.
Digital autonomy gives MSPs control over how customer communications, data and infrastructure are deployed, managed, processed and stored. With Vodia, MSPs can build a flexible, branded communications service across cloud and on-premise environments while retaining control of pricing, service delivery, support and the customer relationship. This independence helps protect long-term account value, reduce reliance on third-party vendors and create more opportunities to expand services over time.
.svg)