How to Configure your Telynx SIP Trunk with Vodia PBX
Published on:
January 14, 2019
This guide provides a comprehensive overview of configuring the Vodia phone system with Telnyx phone service using Registration. It begins with setting up a Telnyx account, including purchasing a phone number and creating a connection with secure credentials. Once the connection is established, the guide walks you through provisioning your number and assigning it to the created connection. The outbound profile setup enables outbound calling via Telnyx, and Vodia PBX integration is simplified with automatic dial plans. Additionally, we cover routing incoming calls to specific extensions or external URLs, along with managing multiple DIDs through Vodia DID management.
This article will provide you with a step-by-step guide for configuring your Vodia phone system with Telnyx phone service using Registration.
The first thing we need to do is get you set up on the portal.
Configuring your account on the Telnyx
Purchase a Number:
Visit the NUMBERS page via the navigation on the left-hand side
Select the SEARCH NUMBER tab
Select your search type: (NPA-NXX, Region, Toll-Free or Advanced)
Input your search criteria and click SEARCH
The result will display below
Click "+ADD to CART" to select the number(s) you'd like to purchase
Click on the Shopping Cart to view your selected numbers and check out
Once purchased, your number will be visible on the "My Numbers" tab within the NUMBERS page
Setup Up You Connection
Visit the CONNECTIONS page via the navigation menu on the left-hand side
Click the "ADD CONNECTION" button (located toward the top right corner)
Input a name for the connection
Select "Credential" for your authentication Method and input a Username and a secure Password of your choosing
Click the "CREATE" button to finish creation your connection
Note: You can also set up the connection with the external IP address of your Vodia PBX or the FQDN.
Provision your Number: (Assign to a connection)
Go back to the NUMBERS page via the navigation menu on the left-hand side
Select the MY NUMBERS tab (this may have defaulted to this already)
Click the "Select Connection" drop-down next to your number - you should see the connection you just created, select it
Your number is now all set on the Telenyx user portal
Create an Outbound Profile
Visit the OUTBOUND section via the navigation menu on the left-hand side
Click the "+ ADD OUTBOUND PROFILE" button (located near the top right corner)
Select the connection you created via the "Select Connection" drop-down
Choose the "Traffic Type and "Service Plan" that meets your needs
Click "ADD"
You are now setup for outbound calling.
Configuring Vodia PBX User-Pass Authentication
In the Vodia PBX, navigate to your domain; on the left-hand side choose TRUNKS ---> VoIP Providers
Click on add and choose Telnyx trunk, then enter the user and password you've created in your Telnyx account
Click on create
The Telnyx template is built into the Vodia PBX, so there's no need to enter the SIP outbound proxy and trunk headers configuration. Vodia automatically creates a dial plan for the domain, so there's no need to create a dial plan unless you want to edit it.
Routing incoming calls
Navigate to your registered Telynx trunk and scroll down to set the incoming call under "Routing/Redirection"
Vodia supports the following inbound methods:
Send all calls to the destination request URL
Send all calls to a specific account
Send to a 10 Digit DID
Match extension after a prefix
Use a list of expressions
For this exercise, we are going choose, "send all calls to a specific account." When you call into the system, all calls will go the specified extension.
If you have multiple Telnyx phone numbers you would like to route into the Vodia PBX, you can follow these steps:
DID Management
Navigate to DID management in admin mode
The DID management will help you configure multiple DIDs by assigning them to specific extensions the system.
Navigate to your Telnyx trunk from your Vodia PBX system: scroll down to "Routing/Redirection" and choose "send all to the destination request URL"
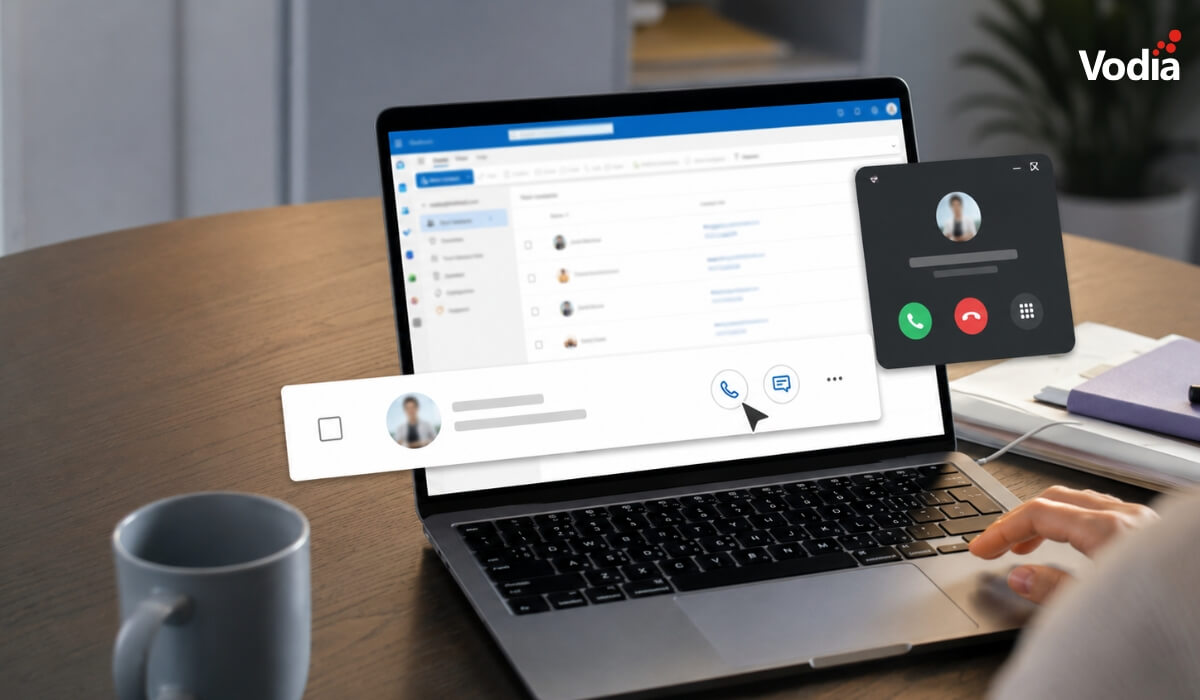
Vodia Hub brings click to call and desktop call control to Windows, making it easier for users to place, answer, manage, and automate calls from the applications they already use every day. With system wide tel: link handling, inbound call screen pops, queue details, and automation support, Vodia Hub helps connect the Vodia PBX with Outlook, CRMs, browsers, documents, and other Windows tools. Users can keep working without manually copying phone numbers, opening the user portal, or switching between applications just to handle a call.
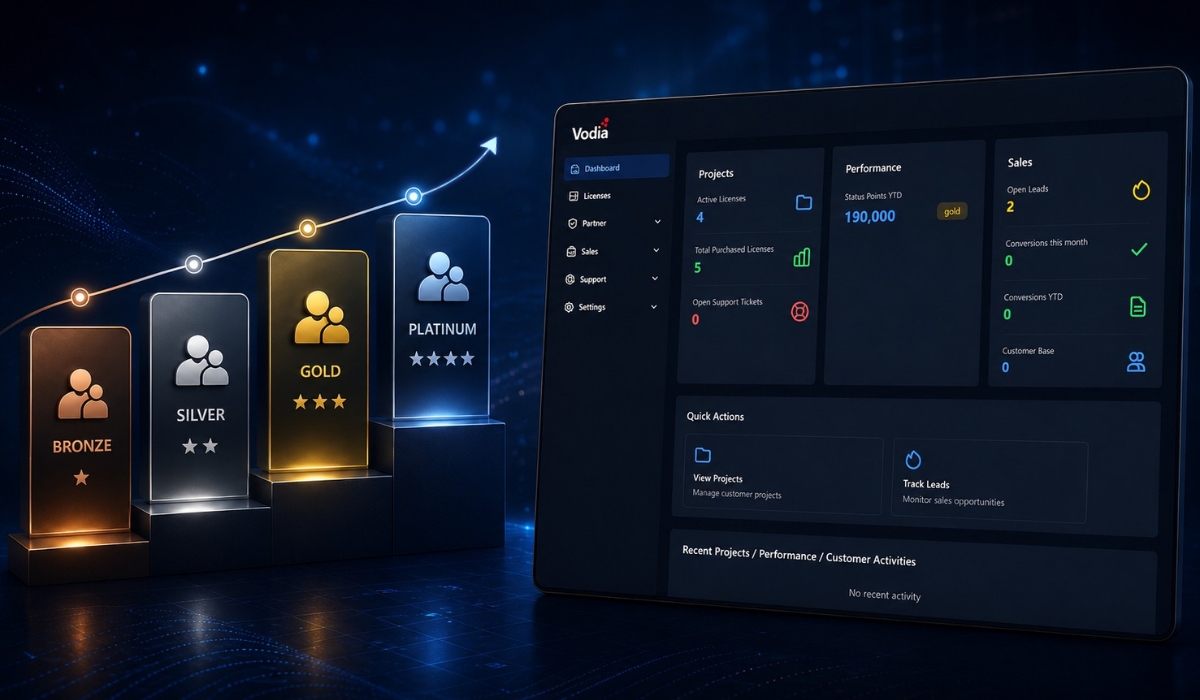
The Vodia Partner Program and new Vodia Partner Portal give service providers, MSPs, system integrators, and technology partners a clearer way to grow their Vodia business. Partners can earn status points through revenue, certifications, customer acquisition, referrals, and other activities, then use those points to progress through partner levels and unlock higher discounts. The launch also includes a limited-time Summer Launch Promotion, giving new partners a faster path toward Gold status and a 20% discount.
V70 of the Vodia PBX introduces flexible service flags that help organizations automate call routing, scheduling, queue management, announcements, and communication workflows throughout the day. Service flags can be configured manually or automatically to control how calls are handled during business hours, after hours, holidays, or special events. They can also be chained together for more advanced routing logic and integrated with external calendars such as Google Calendar to support dynamic scheduling and operational flexibility across business environments.
.svg)